Seal coating might seem like a daunting task, but it’s a game-changer for anyone looking to extend the life of their asphalt surfaces. When I first delved into the world of seal coating, I was amazed at how a simple layer could protect driveways and parking lots from the harsh effects of weather and wear. It’s not just about aesthetics; it’s about preserving your investment.
In this comprehensive guide, I’ll walk you through the essentials of seal coating, breaking down the process into manageable steps, suggests The Maryland and Delaware Management Services. Whether you’re a DIY enthusiast or someone considering hiring a professional, understanding the basics will empower you to make informed decisions. From selecting the right materials to applying the sealant effectively, I’ve got you covered. Let’s dive into the world of seal coating and unlock the secrets to maintaining pristine, durable surfaces.
Understanding Seal Coating
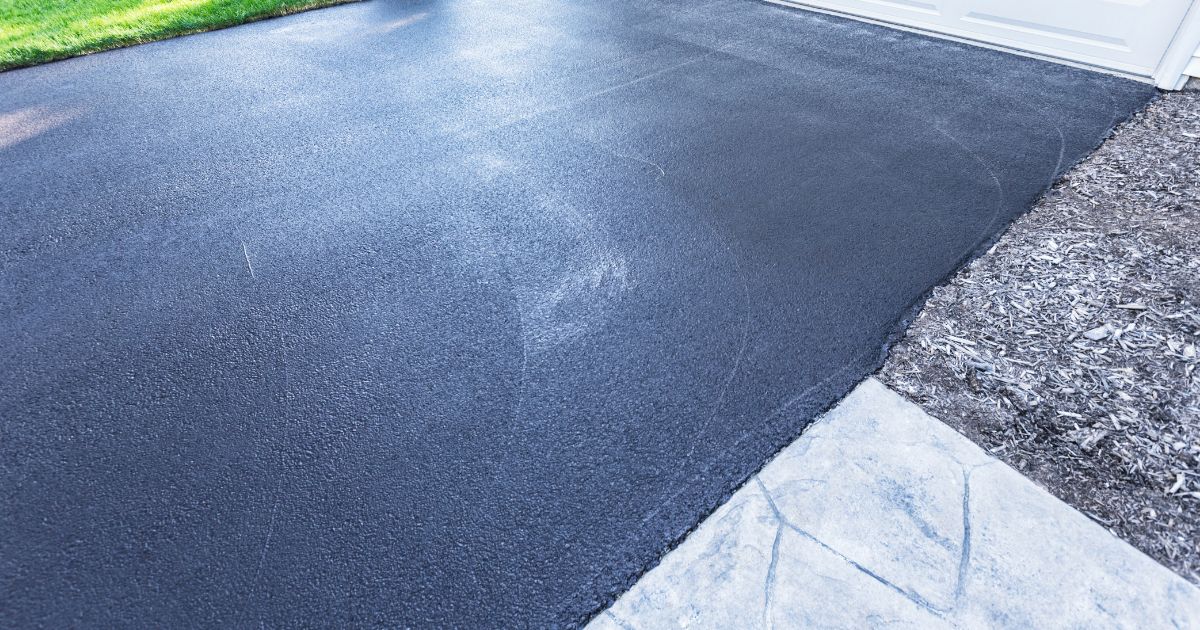
Seal coating plays a crucial role in protecting and preserving asphalt surfaces. It’s a process that applies a protective layer over asphalt, ensuring durability and longevity.
What Is Seal Coating?
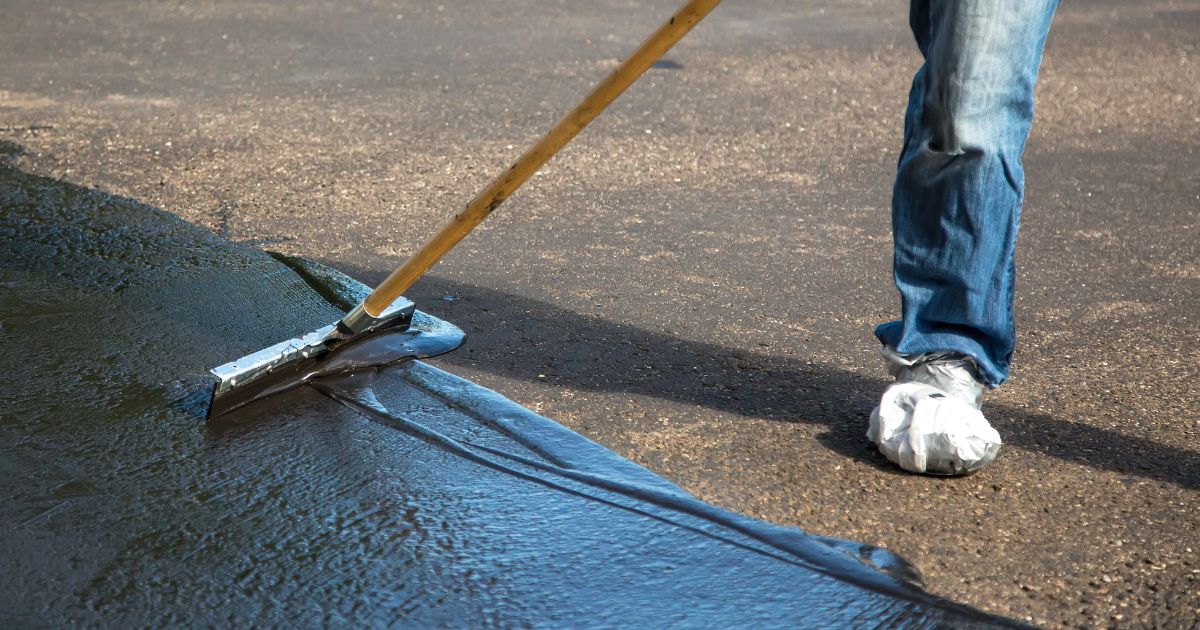
Seal coating involves covering asphalt with a thin liquid layer. This coating acts as a shield against elements like water, oils, and UV rays. Asphalt is generally porous, allowing elements to penetrate, leading to deterioration. However, the seal coating layer reduces permeability, thereby minimizing damage. The process typically includes cleaning the surface, filling cracks, and applying the sealant with a squeegee or sprayer.
Importance Of Seal Coating
Seal coating extends the life of asphalt surfaces. It offers protection against oxidation and water penetration, which are major factors contributing to asphalt degradation. By sealing off the surface, it prevents moisture from entering and causing cracks. Seal coating also enhances surface appearance, giving it a dark, uniform finish. This not only improves aesthetics but also offers an additional layer of safety by increasing traction and minimizing skidding. Regular seal coating, every three to five years, maintains these benefits, maximizing the investment in the surface.
Preparing For Seal Coating
Thorough preparation is essential for effective seal coating. Proper tools, materials, and surface assessment ensure lasting results.
Tools And Materials Needed
To begin seal coating, several tools and materials are essential. A reliable asphalt cleaner removes debris, dust, and stains. Crack filler addresses imperfections in the asphalt surface.

For application, a squeegee or sprayer ensures even distribution of the sealant. Additionally, having a mixing paddle or drill attachment will help mix the sealant properly. Protective gear like gloves and goggles keeps the process safe.
Assessing The Surface
Evaluating the surface before seal coating determines the project’s success. Inspect the asphalt for cracks, potholes, and oil spots. Cracks wider than a quarter-inch require filling with a crack filler to provide a smooth, even base. Clean oil spots with a degreaser to ensure proper adhesion of the sealant. Additionally, assess weather conditions, as the ideal seal coating occurs in dry, warm weather to ensure optimal curing.
Step-by-Step Seal Coating Process
The seal coating process involves a few critical steps crucial for achieving a durable and effective protective layer over asphalt surfaces. Each step requires attention to detail to ensure the best results and maximize the longevity of the seal coating.
Cleaning The Surface
Before starting, thoroughly clean the asphalt surface. Use a broom or blower to remove debris like dirt, leaves, and twigs.

A power washer can help eliminate stubborn grime and oil spots. Ensure the surface is free from any loose materials, as these can prevent the sealant from adhering properly.
Repairing Cracks And Potholes
Inspect the surface for cracks and potholes, as these must be addressed before applying the sealant. Use a crack filler for gaps wider than a quarter-inch to prevent water seepage. Fill potholes with patching material and smooth it out to level with the rest of the surface. Proper repairs ensure the sealant covers an even surface, providing better protection.
Applying The Sealant
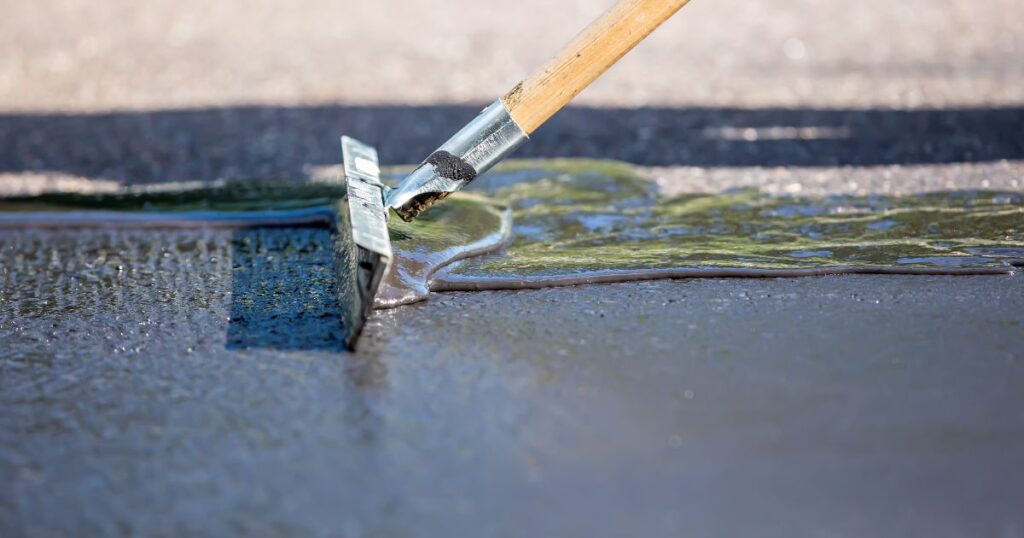
Once the surface is clean and repaired, apply the sealant. Use a squeegee or sprayer for an even coat. Start at one end and work methodically to cover the entire area. Apply the sealant in multiple thin layers rather than one thick layer for better curing. Follow the manufacturer’s instructions for drying time and avoid traffic on the surface until the sealant completely sets.


More Stories
Predictive Betting Models Used by Aussie Gamblers: Advanced Approaches to Wagering in 2025
What Should You Look for When Purchasing a Premium Men’s Linen Shirt?
The Casino Experience: Types, Appeal, Rules & Online Vs. Offline Debate