When Can You Start Preparing?
Timing is important when it comes to pool winterization. Ideally, you want to start when the temperature stays consistently below 65 degrees Fahrenheit during the day. Don’t want to start too early since this might lead to algae growth before closing. Waiting too long also carries risks like equipment damage caused by freezing temperatures. Usually, pool owners will begin the process around late September to early October, depending on the local climate.
How to Prepare Your Pool for Winter
Step 1: Deep Cleaning
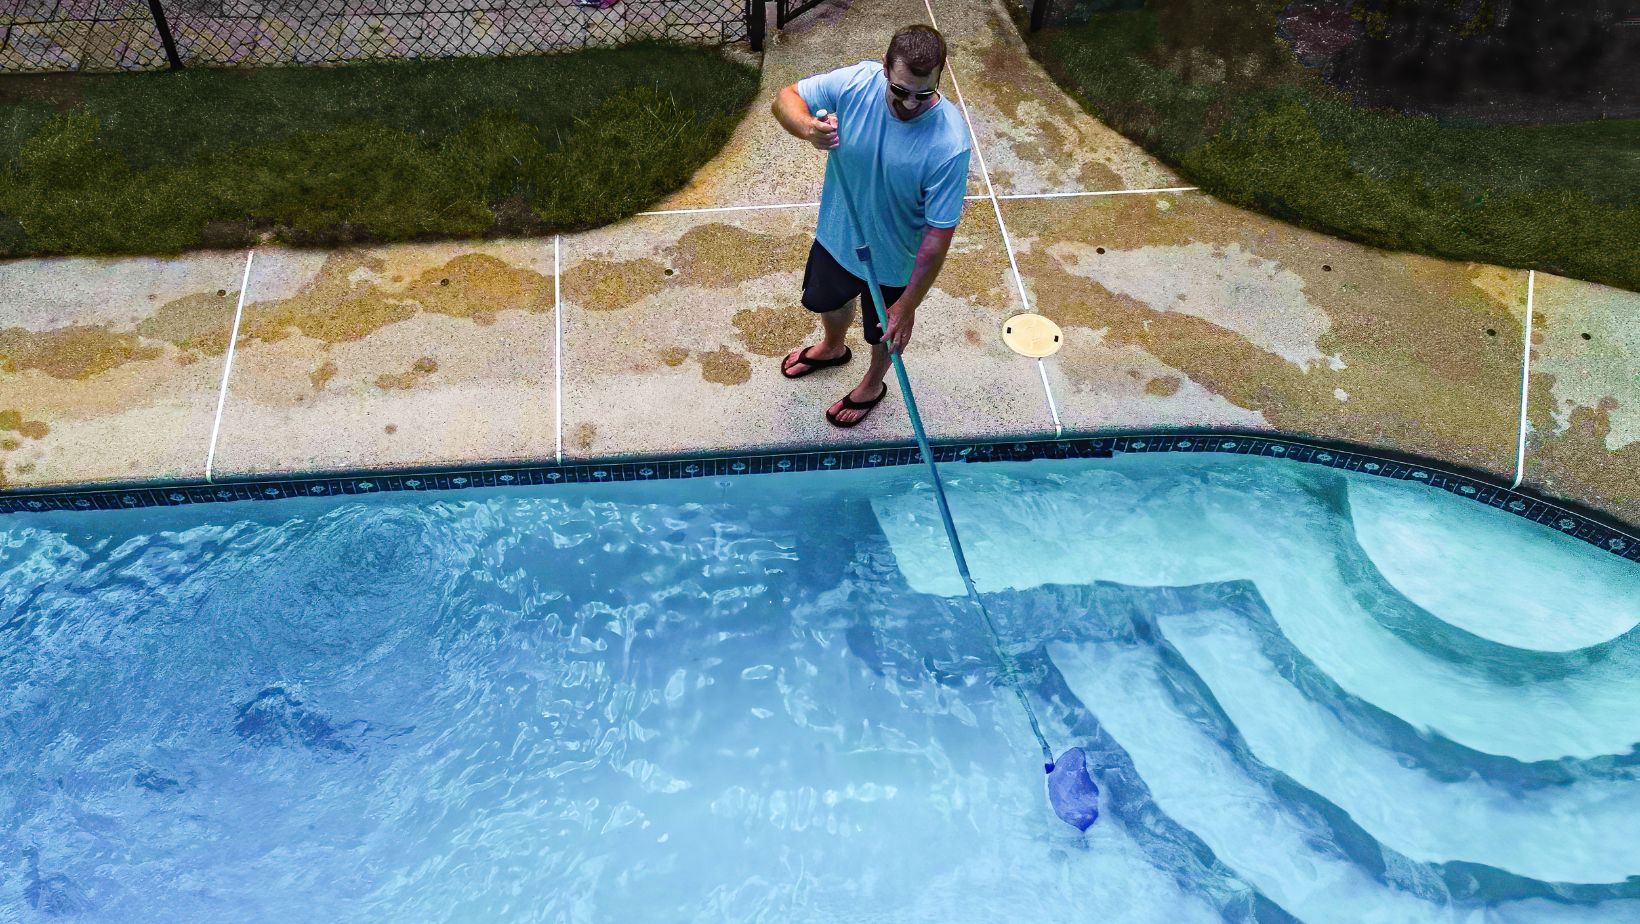
You need to thoroughly clean your pool by removing all debris with a pool vacuum and brush. Pay special attention to the walls, steps, ladders, and corners where algae can typically build up. Brush the walls and floors to get rid of any biofilm or early algae formation. Clean your skimmer baskets and pump strainer baskets, too.
The cleaner your pool is before closing, the better condition it will be in when you reopen. This initial cleaning phase might take several hours, but it significantly reduces the likelihood of stains and algae growth during the winter months.
Step 2: Balance the Water Chemistry
The water in your pool needs to be properly balanced so it stays safe from damage during the off-season. You’ll need to test and adjust these chemical levels:
- pH should measure between 7.2 and 7.6 to prevent scale formation and surface damage
- Total alkalinity needs to fall between 80 and 120 ppm
- Calcium hardness should range from 180 to 220 ppm
- Chlorine levels should be slightly elevated, around 3-5 ppm

Once you achieve these levels, you then have to add a winter chemical kit. This typically includes a long-lasting algaecide, a winter shock treatment, a stain and scale preventer, and a winter enzyme treatment.
These chemicals should be added in the right order – usually, it’s shock treatment first, then algaecide, followed by the stain preventer and enzyme treatment. Always follow the instructions on your specific kit since concentrations can vary between brands.
Step 3: Inspect Your Equipment
Give everything a thorough look before winter hits. Start with your pump housing – run your hands along it and look closely for hairline cracks that might cause problems later. While you’re there, check all the seals and O-rings around your equipment. It might seem minor, but even a slightly worn O-ring can cause headaches when spring rolls around.
Don’t forget to check all your plumbing connections for potential leaks. Inspect the skimmer baskets for cracks or damage. If there is damage, it might be time to replace them or call a professional pool leak inspection company to assess the damage. Next, check the tile grout and test any wall fittings to make sure everything’s solid.
Step 4: Protect Your Plumbing System
Your pool’s plumbing system needs special attention. If water is left on those pipes, it can freeze and expand, leading to some expensive repairs come springtime. So you need to get every drop of water out.
Start by lowering the pool level below the skimmer opening, typically 12-18 inches below the tile line for vinyl pools and 4-6 inches for gunite pools. This will prevent freeze damage to the skimmers and tiles. Then, remove all drain plugs from your pump, filter, and heater. Store these plugs in your pump basket so they’re easy to find in spring. Open all valves to let everything drain completely.
Next, you’ll need to blow out the plumbing lines. You can use a shop vacuum or air compressor for this. Start with the skimmer lines and work your way through the entry system. Keep blowing air through each line until you don’t see any more water coming out.
Consider adding a non-toxic antifreeze to the plumbing lines if you live in an area with harsh winters. Check to make sure it’s antifreeze specifically made for pools, and not for cars.
Step 5: Store Your Equipment
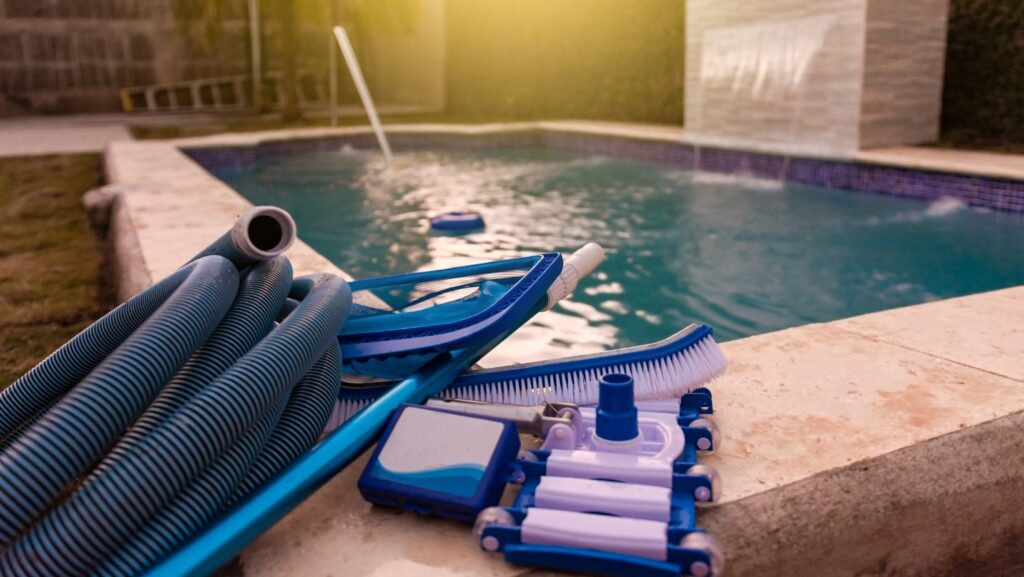
Clear out all your pool accessories so it’s safe from winter. This means putting away your ladder, handrails, and all your cleaning equipment. Once it’s all out, take some time to clean it all properly. Salt residue, algae, or plain old dirt can damage your equipment if left on there all winter. A good scrub with some mild soap and water usually does the trick.
Make sure everything’s dry before you put it away. The garage or shed works great as storage as long as it’s dry and protected from freezing temperatures. Stack everything carefully, and maybe throw a tarp over it all for extra protection. Come spring, you’ll thank yourself for the extra time you took to store everything properly.
Step 6: Install a Winter Cover
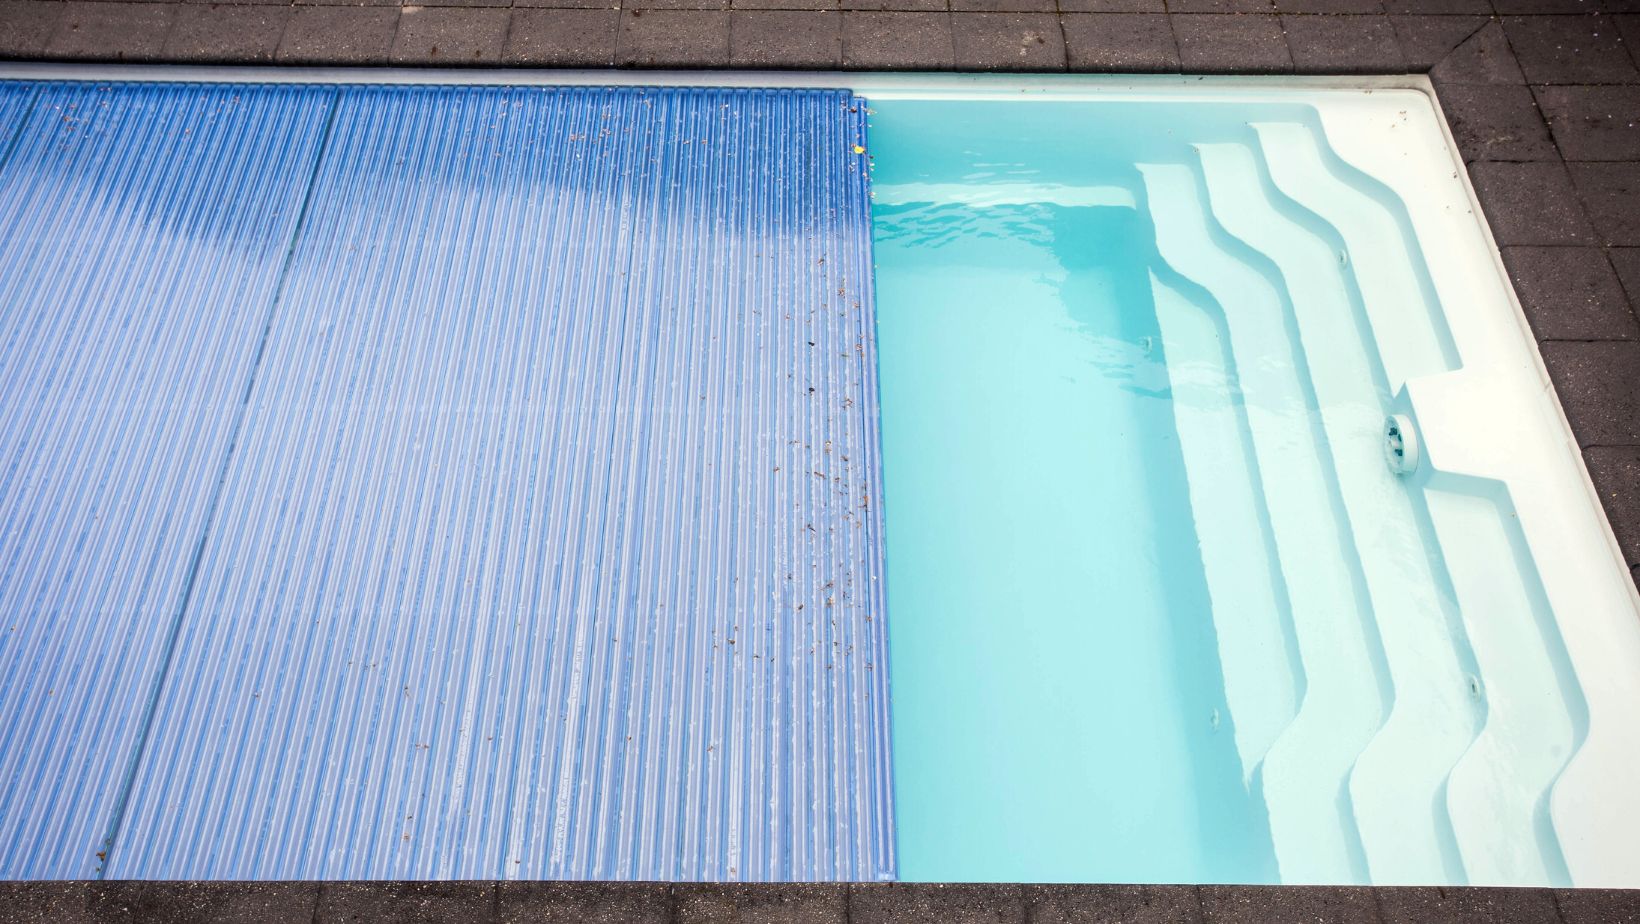
The winter cover is like your pool’s winter coat, so it needs to fit well and stay secure. You have two options for covers here: a solid cover and a mesh cover. A solid cover is like a heavy-duty tarp that completely seals your pool off. It’s great if you have trees dumping leaves all over your yard every fall. The downside is that you need to pump off rainwater and melted snow that collects on top.
Mesh covers, on the other hand, are like a giant screen door for your pool. Water passes through it, so you don’t have to worry about pumping off any accumulation. The trade-off is that really fine stuff – like dirt and tiny debris – might make its way into your pool. Still, many pool owners prefer mesh covers just because they’re easier to maintain through winter.
Before you put the cover on, give your pool deck a good sweep first. Even a tiny rock can damage your cover over a long winter. Inspect your pool’s edge and check for anything that might snag or tear your cover. It should hang by the pool’s edge by at least 18 inches all the way around, so keep debris out.

When you’re securing it, pull it tight – a loose cover is basically useless. If you’re using water bags to hold it down, place them end to end without any gaps. If you’re going with cables or springs instead, they have to be evenly tensioned all the way around. A properly installed cover will save you hours of cleanup and potential repairs.
Professional Help VS. DIY
You’re probably wondering whether you can pull off winterizing your pool all by yourself or you should just call in the pros. Honestly, there is no correct answer. Plenty of pool owners winterize their own pools, while others swear by their pool servicing company.
If you’re a new pool owner, it’s best to have a professional show you how to do it. But if you’re the hands-on type who likes to know more about pool maintenance, then you can definitely winterize your own pool.
Consider your local climate, too – winterizing in Michigan looks totally different from winterizing in Florida. More complex pool systems with fancy features will definitely require the expertise of a professional, while simpler setups could be more DIY-friendly.
Whatever you decide, just remember that proper winterizing is like an insurance policy for your pool. Whether you do it yourself or hire it out, taking the time to do it right means you’ll be ready to dive right into summer fun when warm weather rolls around again.


More Stories
How Porch Builders Calculate ROI
Move Without the Miles: Smart Motorcycle Transport Solutions
How Professional Painters Handle Weather Challenges During Exterior Jobs?