

Quick Answer
Solar outdoor lighting uses photovoltaic panels to convert sunlight into electricity, storing it in batteries to power energy-saving outdoor lights at night. Such an approach eliminates the need for wiring, reduces electricity consumption, and supports renewable-energy lighting for pathways, gardens, and landscapes. Professional installation optimizes panel placement and system sizing for reliable performance in varying conditions.
Introduction
Property owners and landscape professionals often face rising electricity costs from traditional outdoor lighting, coupled with the hassle of running wires across yards or dealing with inconsistent illumination after dark. These challenges become more pronounced in regions with seasonal weather variations, where reliable, low-maintenance solutions prove essential for safety and aesthetics.
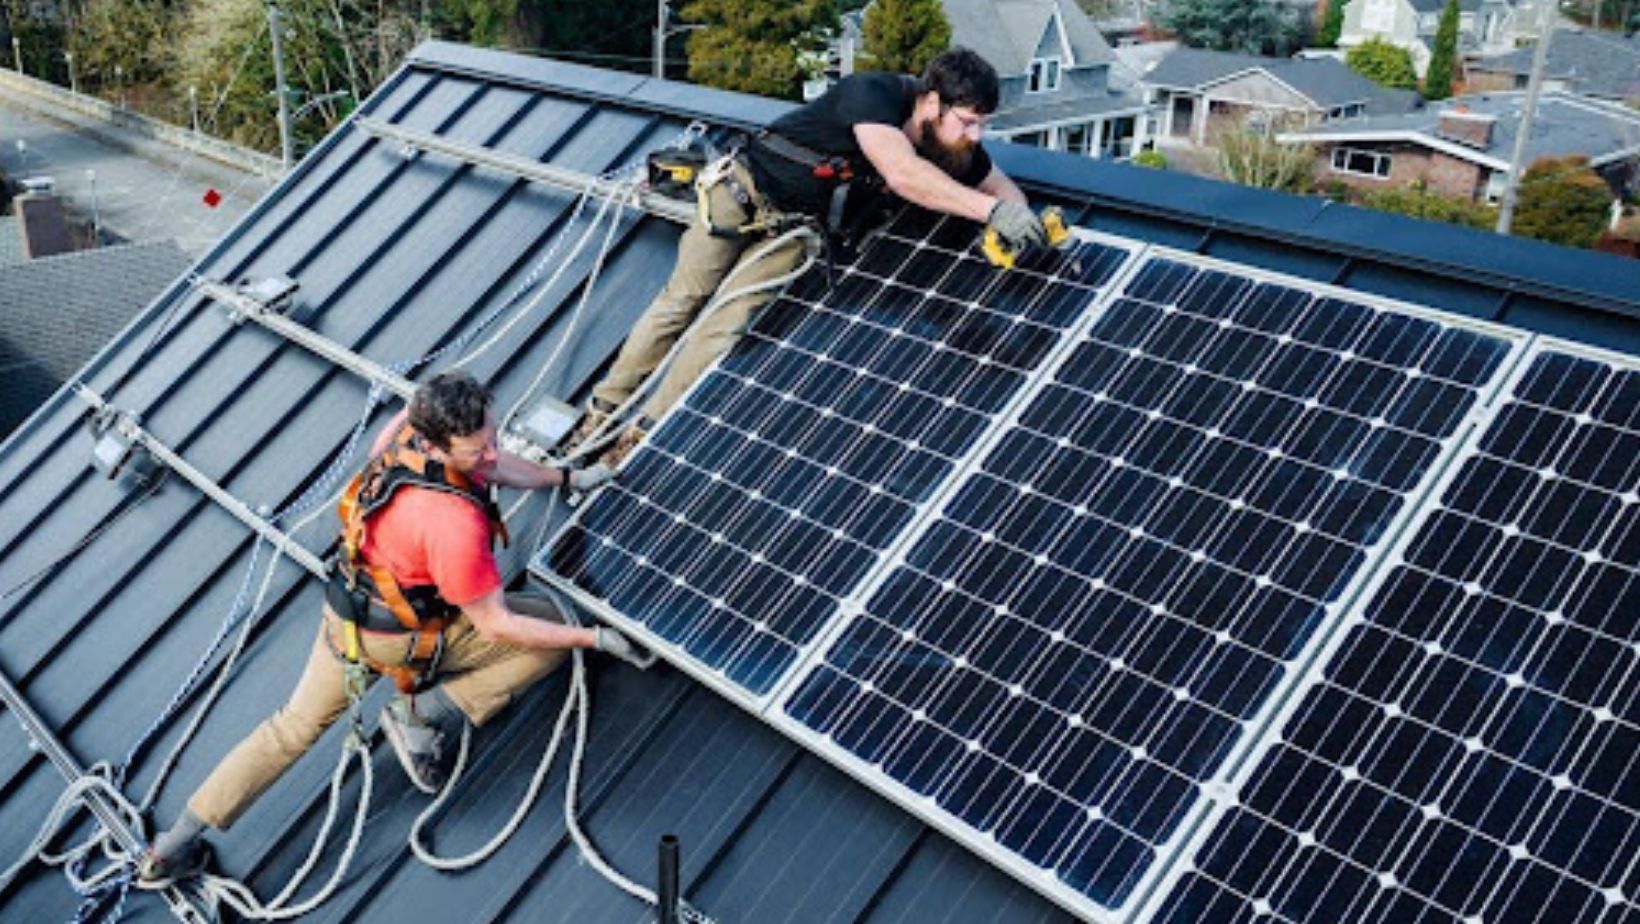
Proper system selection and placement make a substantial difference in output and durability. For optimal results, especially with integrated electrical components or larger-scale setups, qualified professionals handle solar lighting installation alongside related work like solar panel installation by Colz Electric to align with safety standards and performance expectations. This foundation supports consistent, cost-effective operation over time.
Understanding Solar Outdoor Lighting and Its Benefits
A typical system includes a solar panel, rechargeable battery, LED fixture, and charge controller that manages power flow. During daylight hours, the panel generates current to charge the battery, which then supplies energy to the LEDs after sunset.
This process eliminates dependence on grid power, resulting in zero operational electricity costs once installed. Many fixtures use motion sensors or dusk-to-dawn photocells to activate only when needed, extending battery life and improving efficiency.
Key Advantages for Outdoor Applications
Property owners appreciate solar outdoor lighting for its flexibility in placement without trenching or conduit runs. The absence of wiring reduces installation disruption and potential hazards from underground cables. In regions with variable sunlight, systems perform reliably when panels receive adequate daily exposure, often six or more hours, depending on manufacturer specifications.
LED technology delivers bright illumination while consuming minimal power, often achieving run times of eight to twelve hours on a full charge under optimal conditions. The result is enhanced safety along pathways and driveways, plus improved curb appeal for landscapes.
Battery and Panel Options Compared
| Battery Type | Lifespan (Years) | Depth of Discharge | Cost Level | Temperature Tolerance | Best Use Case |
| Lead-Acid (AGM/Gel) | 3 to 5 | 50 to 60% | Low | Moderate | Budget-conscious setups |
| NiMH | 2 to 4 | 80 to 90% | Medium | Good | Smaller garden fixtures |
| LiFePO4 (Lithium) | 8 to 15 | 80 to 100% | Higher | Excellent | Long-term, high-performance |
Planning and Solar Lighting Installation Best Practices
Observe daily sun patterns across potential fixture locations over several days to identify areas receiving at least six hours of direct sunlight, the minimum for most systems to achieve reliable overnight operation. Factor in seasonal changes, since winter months often deliver fewer daylight hours and lower sun angles in many regions.
Calculate total lumen output needed based on the area to illuminate, such as pathways requiring 50 to 100 lumens per fixture for safe visibility or accent features needing 200 lumens or more for dramatic effect. Oversizing panels slightly compensates for cloudy periods and panel efficiency losses over time.
Step-by-Step Installation Process
Professional-grade installation follows a structured sequence to maximize performance and longevity.
- Select fixtures with integrated or remote panels rated for outdoor use and appropriate IP ratings for water resistance.
- Mount panels securely at the optimal tilt and orientation, typically facing south in the northern hemisphere at an angle close to the local latitude plus 15 degrees in winter-dominant climates.
- Position light fixtures to direct illumination where needed while minimizing glare and light trespass.
- Secure all components with corrosion-resistant hardware and use weatherproof connectors for any wiring between panels and lights.
- Test the system immediately after setup by covering panels to simulate dusk and verify automatic activation plus brightness levels.
Common Placement Strategies
Here are proven approaches to optimize coverage and aesthetics:
- Pathway Lighting: Space fixtures 1.5 to 2 metres apart along walkways for even illumination without dark gaps.
- Accent Lighting: Position uplights 30 to 60 centimetres from tree trunks or architectural features to highlight textures.
- Security Lighting: Place brighter fixtures near entry points or driveways, often with motion sensors for added functionality.
- Garden Beds: Use downward-directed lights to create soft washes over plants rather than harsh spots.
Incorporate adjustable heads on fixtures during initial setup to fine-tune beam angles after dark, when real-world light distribution becomes visible.
Comparison of Fixture Mounting Options
| Mounting Type | Pros | Cons | Ideal Application |
| Ground Stake | Quick setup, flexible repositioning | Prone to shifting in soft soil | Temporary or small-scale gardens |
| Wall/Fence Mount | Stable, elevated light spread | Requires drilling into surfaces | Patios, fences, building exteriors |
| Pole/Post Mount | Higher placement for wider coverage | Needs sturdy base or post | Driveways, larger pathways |
| Tree/Branch Clip | Discreet, natural integration | Limited to vegetated areas | Woodland or garden accents |
The result is a thoughtfully planned layout that delivers consistent performance while blending seamlessly with the landscape design. For complex electrical integrations or when combining with grid-tied systems, professional oversight during solar lighting installation aligns components with established safety protocols and electrical codes.
Maintaining Renewable Energy Lighting for Long-Term Performance
Regular maintenance keeps operating at peak efficiency year after year. Inspect panels monthly for dust, pollen, bird droppings, or leaf debris that can reduce output by 20 to 30 percent even with light soiling. Clean surfaces gently using soft brushes or microfibre cloths dampened with water, avoiding abrasive materials or harsh chemicals that damage anti-reflective coatings.
Check fixtures for water ingress around seals, especially after heavy rain or snowmelt, and verify that mounting hardware remains tight against wind or ground movement. In practice, addressing minor issues promptly prevents cascading failures such as reduced charge cycles or premature battery degradation.
Battery Health and Replacement Indicators
Batteries represent the most critical component for sustained performance in energy-saving outdoor lights. Monitor runtime seasonally, since noticeable shortening from the original eight to twelve hours signals capacity loss. LiFePO4 batteries typically maintain 80 percent capacity after 2000 cycles when kept within recommended temperature ranges, while lead-acid types may show earlier decline in hot summers or freezing winters.
Replace batteries proactively every five to ten years, depending on type and usage patterns, rather than waiting for complete failure. Store spares in cool, dry conditions if seasonal shutdowns occur in colder climates.
Troubleshooting Common Performance Issues
- Dim or intermittent light: Often caused by insufficient panel charging from shading or seasonal sun reduction. Relocate panels or trim overhanging branches.
- No activation at dusk: Photocell may be obstructed or faulty. Clean the sensor lens and test by covering it manually.
- Short runtime after full sun exposure: Indicates battery degradation or excessive parasitic draw from always-on features. Disconnect non-essential sensors temporarily to diagnose.
- Flickering or colour shift: Points to voltage drop or LED driver issues. Check connections and consider professional evaluation for integrated systems.
Upgrading and Adapting to Evolving Needs
Technology in solar outdoor lighting continues to advance with higher-efficiency panels, smarter controls, and longer-lasting batteries entering the market regularly. When refreshing an existing setup, prioritize compatibility between new components and legacy fixtures to avoid mismatched voltages or charge profiles.
Adding motion sensors or app-based controls can extend battery life further by activating lights only when movement occurs. For properties expanding outdoor spaces, integrate additional fixtures thoughtfully to maintain balanced illumination without overloading individual systems. The result is a scalable solution that adapts to changing requirements while keeping electricity costs at zero.
Sustaining Value with Renewable Energy Lighting
Systems perform best when panels receive consistent sunlight, fixtures match the intended application, and maintenance occurs on a predictable schedule. Thoughtful planning during solar landscape lighting installation prevents common pitfalls such as inadequate charging or suboptimal placement. Over time, regular cleaning, battery monitoring, and selective upgrades keep output strong even as components age.
The reality is that solar outdoor lighting represents a mature, reliable technology suitable for diverse outdoor settings. Property owners who invest in quality components and follow established best practices experience dependable operation with minimal intervention. This approach supports both immediate functionality and future adaptability in an evolving energy landscape.
More Stories
Online Teen Patti Strategies for Smarter and More Responsible Play
10 Outdoor Renovation Tips for a More Relaxing Home
Design Your Kitchen with AI: Turn Your Ideas into Reality